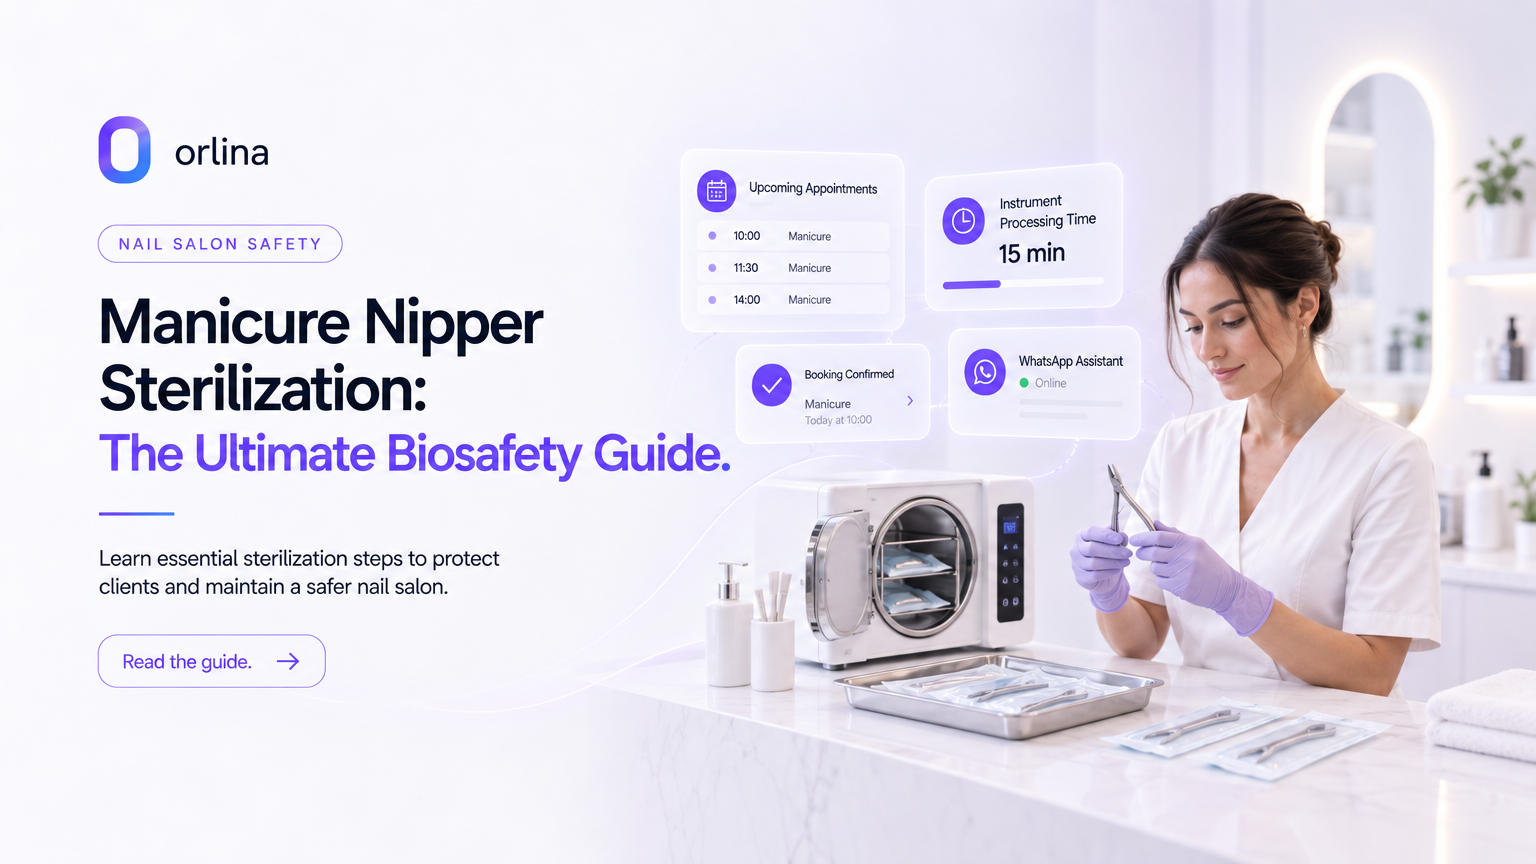
Sterilizing manicure nippers requires a rigorous protocol that goes far beyond simple cleaning; it must include autoclaving to eliminate spores and resistant pathogens. To maintain a safe and organized routine, a professional must follow the complete biosafety workflow: cleaning, drying, packaging, and sterilization, ensuring that each client uses an exclusive, correctly processed kit. According to international health standards, the use of 70% alcohol or dry heat sterilizers does not replace the effectiveness of an autoclave for processing critical items.
The Pillar of Biosafety: Understanding Decontamination Levels
In the world of manicure and pedicure, biosafety is not just a bureaucratic requirement—it is the foundation of trust between the professional and the client. To organize an efficient routine, the first step is understanding that not all "cleaning" is equal. There is a safety hierarchy that divides material processing into three distinct levels: cleaning, disinfection, and sterilization.
Cleaning is the fundamental initial stage. It consists of the physical removal of dirt, skin debris, cuticles, or blood, usually done with water, enzymatic detergent, and mechanical action (brushing). Without thorough cleaning, the following stages will fail, as organic debris can "shield" microorganisms against the heat of the autoclave.
Disinfection is the process that eliminates most pathogenic microorganisms but not necessarily bacterial spores (highly resistant life forms). Many professionals make the classic mistake of believing that wiping a nipper with 70% alcohol makes it safe. Alcohol is an intermediate-level disinfectant, useful for surfaces and hands, but insufficient for instruments that puncture or cut the skin, such as nippers and pushers.
Sterilization is the only process capable of destroying all forms of microbial life, including viruses (such as Hepatitis B, C, and HIV), fungi, and bacteria in their sporulated form. In a scenario where small cuts are common, a nail nipper is classified as a "critical item." By definition, critical items are those that penetrate subepithelial tissues or the vascular system and, therefore, must undergo sterilization in an autoclave.
Why the Autoclave is Indispensable
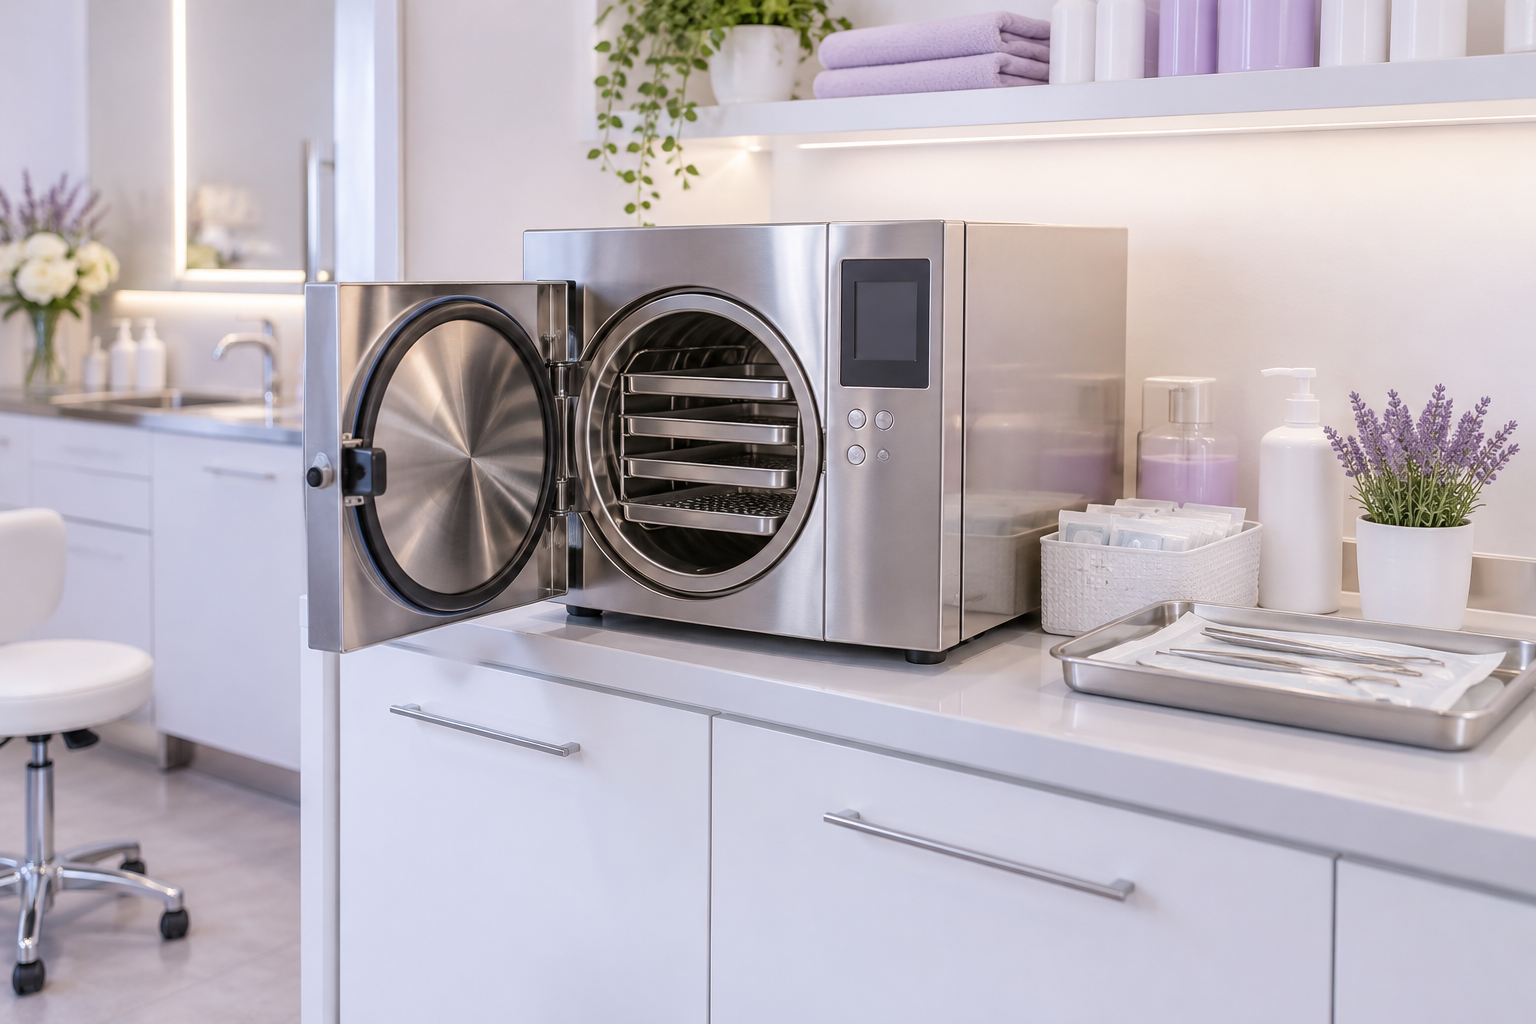
For years, dry heat sterilizers (ovens) were the standard in beauty salons. However, their effectiveness is questionable due to the difficulty of maintaining a homogenous temperature and the lack of air circulation. The autoclave, on the other hand, uses moist heat under pressure. It is the same equipment used in surgical centers and dental offices worldwide.
According to health guidelines from organizations like the CDC (Centers for Disease Control and Prevention), pressurized steam is the most dependable method for destroying all forms of microbial life. The steam penetrates the packaging and reaches all surfaces of the instrument, ensuring thermal death of microorganisms in a shorter time and with much greater safety. Additionally, modern autoclaves have automatic cycles that prevent the door from being opened before completion, reducing human error.
Material Processing Workflow: Step-by-Step
For the sterilization of manicure nippers to be effective, you need a unidirectional workflow. This means "dirty" material should never cross paths with "clean" material. Let's detail each stage of this process:
1. Cleaning and Pre-Washing
Immediately after use, the nipper should be placed in an enzymatic detergent solution. This product contains enzymes that "digest" organic matter, facilitating the removal of blood and skin residues. After the manufacturer's recommended soaking time, use a soft-bristled brush to clean the joints and blades of the nipper.
2. Rigorous Drying
This is one of the most common failure points. If the nipper is packaged while damp, moisture can compromise the surgical-grade paper barrier and cause steel corrosion, even if it is stainless steel. Use disposable paper towels or clean compresses to dry each item individually. Be sure to open and close the nipper to ensure the joint is dry.
3. Inspection and Lubrication
Before packaging, look closely at the instrument. Is it dull? Are there rust spots? Is the joint sticking? If necessary, use specific autoclave lubricants (water-based), never mineral oils, which block the passage of steam.
4. Packaging
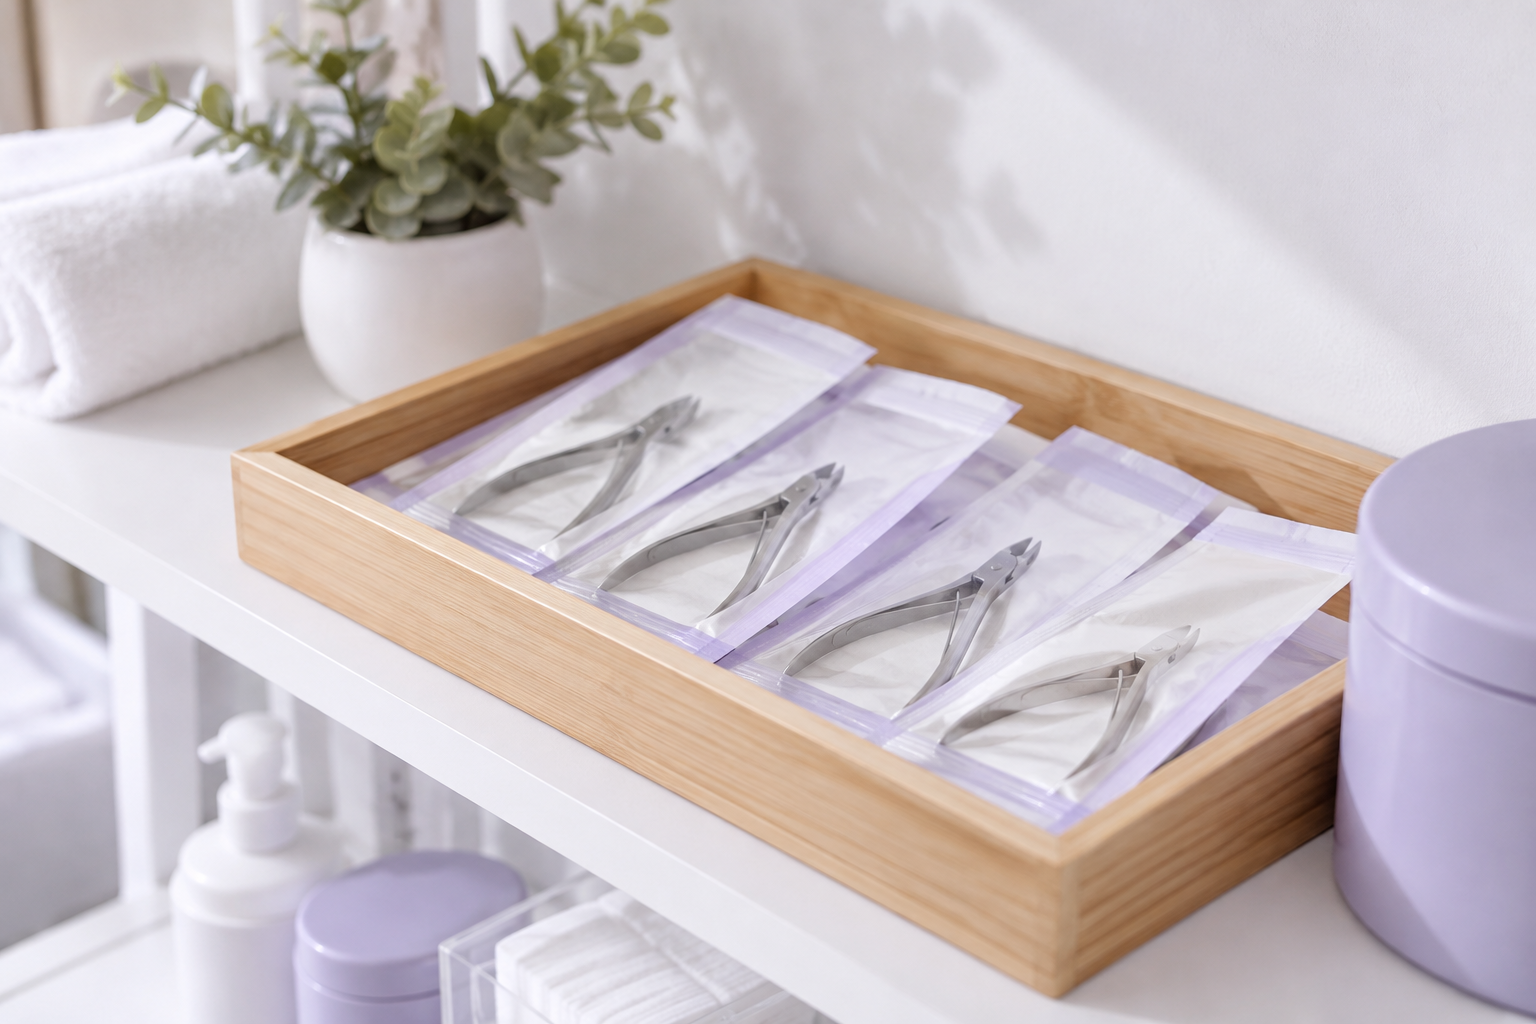
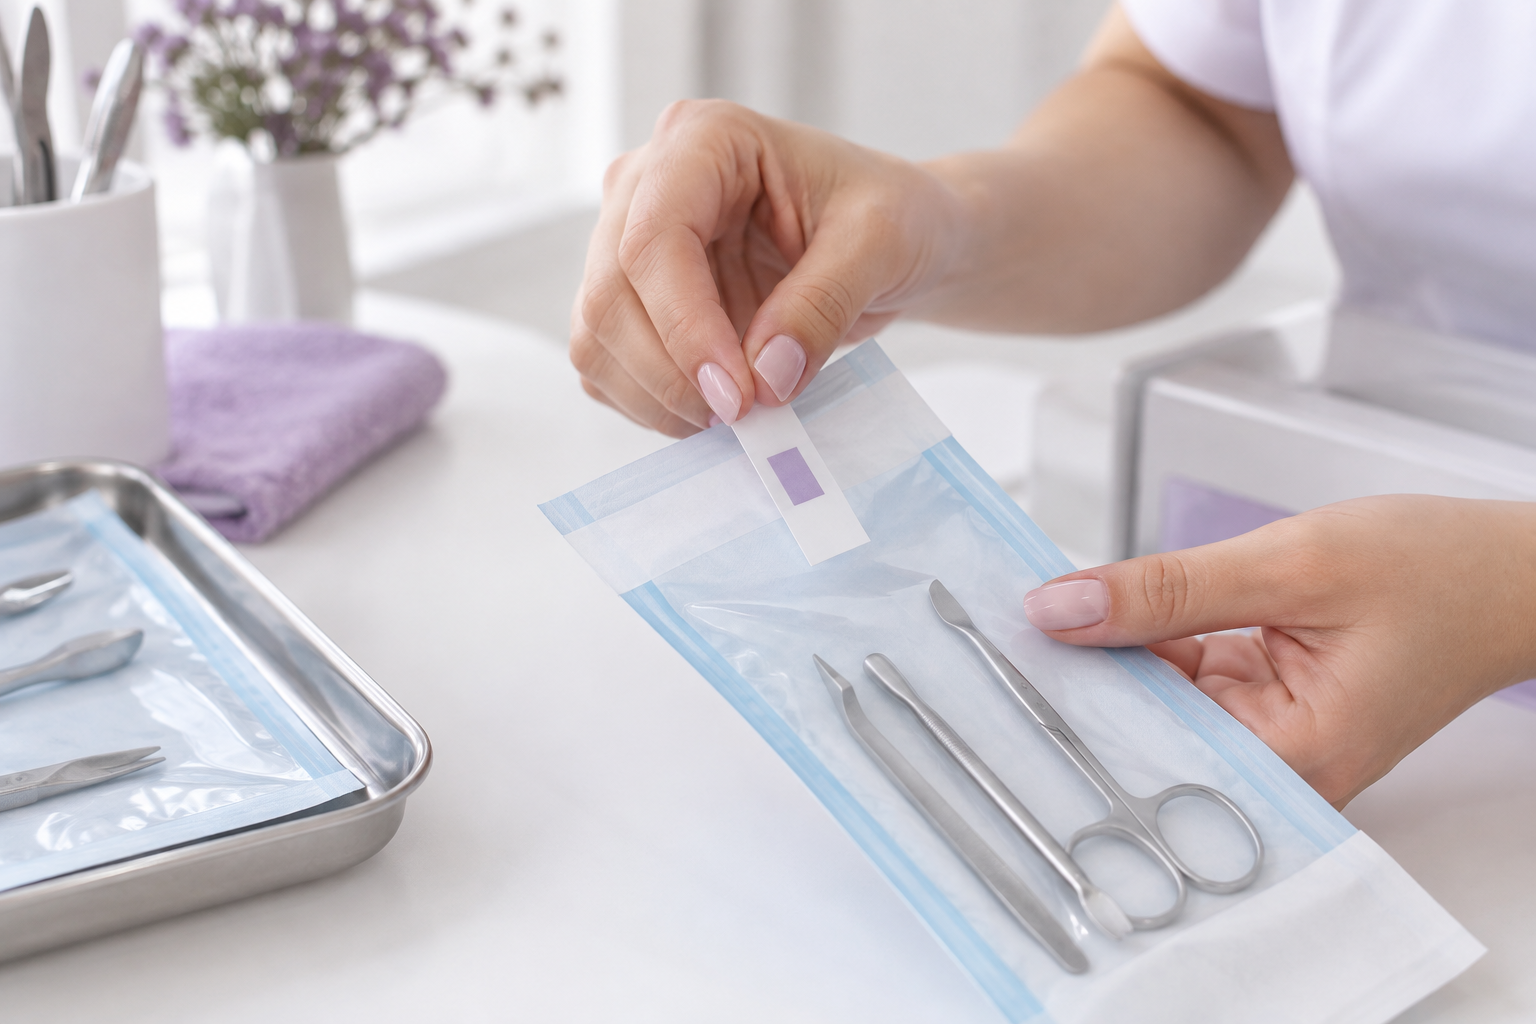
Always use surgical-grade paper/plastic pouches. The paper side allows steam to enter and air to exit, while the plastic side allows you to see the material. Place the nipper with the tips facing the bottom of the pouch and use tip protectors (specifically for autoclaves) to prevent the instrument from piercing the paper. Remember: if the paper is punctured, the sterilization is compromised.
5. Sterilization
Arrange the packages in the autoclave without overlapping them so that steam can circulate freely. Strictly follow the time and temperature indicated by the equipment manufacturer. Regular preventive maintenance and periodic biological tests are essential to ensure the device is actually working as intended.
6. Storage
After the cycle, wait for the material to cool and dry completely inside the machine before removing it. Store the kits in a clean, dry place, away from moisture and excessive heat. The validity of the sterilization depends on the integrity of the packaging, but a general recommendation is 7 days unless the paper manufacturer indicates otherwise.
Comparison Table: "Cleaning" Methods vs. Effectiveness
To help visualize the importance of each step, see the comparison below:
| Method | Removes Visible Dirt | Eliminates Bacteria/Fungi | Eliminates Spores (Sterilizes) | Indication |
|---|---|---|---|---|
| Soap and Water | Yes | No | No | Initial preparation |
| 70% Alcohol | No | Partially | No | Surfaces/hands only |
| Dry Heat Oven | No | Yes | Inconsistent | Not recommended |
| Autoclave | No | Yes | Yes | Gold Standard for Nippers |
Kit Organization and Scaling
One of the biggest challenges for independent manicurists is not having enough instruments for the workday. Haste is the enemy of biosafety. If you try to "sterilize quickly" between one client and the next, the chances of skipping steps increase drastically.
Ideally, you should calculate your daily number of appointments and multiply by 1.5. If you see 6 clients a day, you should have at least 9 to 10 complete kits. This allows you to process all materials at the end of the day or in blocks without the pressure of needing the nipper that is still inside the autoclave.
Consider including in the kit:
- 1 Cuticle nipper;
- 1 Metal pusher;
- 1 Metal file/stick (or use disposables).
Items like nail files, wooden sticks, and toe separators must be strictly disposable. Attempting to reuse files by washing them is a serious sanitary risk and harms your business's professional image. Failure to follow these protocols can lead to health violations and loss of professional licensure.
Between clients, you need time to sterilize. With Orlina, your online booking already respects that gap, clients book themselves through your link and get WhatsApp reminders. See Orlina for nail techs →
The Role of Technology in Biosafety Routines
Maintaining this organized flow requires time management. If you spend hours on WhatsApp answering "what's the price?" or "is there a spot for today?", there is less time left for correct instrument hygiene. This is where an online scheduling system becomes an ally for your health and your clients' health.
With tools like Gabriel, Orlina's AI assistant, scheduling happens automatically. While you are concentrated on the enzymatic cleaning of your nippers, Gabriel is confirming tomorrow's client or answering questions about your service prices. This reduces mental load and allows you to focus on what really matters: technical execution and biosafety.
Furthermore, by using a digital calendar, you can organize your time blocks. For example, you can use a time-blocking feature to reserve 30 minutes in the middle of the afternoon specifically for processing materials, ensuring the sterilization routine is never neglected.
Recording and Traceability
Health authorities often require a record of sterilization cycles. Having a logbook (or a digital spreadsheet) where you note the date, batch number, temperature reached, and the result of the chemical integrator (the strip that changes color) is fundamental.
This is not just for inspections. If a client develops an inflammation or claims contamination, you have documentary proof that all your processes followed safety standards. Traceability is your greatest professional defense.
Equipment and Material Care
To ensure the longevity of your autoclave and the quality of sterilization:
- Use Distilled Water: Using tap water creates mineral deposits (limescale) that clog the machine's pipes and stain the nippers.
- Blade Maintenance: Nippers that go into the autoclave frequently need quality sharpening. Heat and pressure can accelerate wear if the steel is not of good quality. Always look for brands that guarantee resistance to the autoclaving process. You can learn more about maintaining your salon tools in our article on cosmetic expiration and product control.
- Biological Monitoring: At least once a week, use biological indicators (vials with live spores) to test if the autoclave is actually killing microorganisms. This test is the only absolute guarantee that the cycle was effective.
Myths and Truths About Sterilization
- "70% Alcohol solves everything." MYTH. As we've seen, it does not eliminate spores and resistant viruses present in dried blood.
- "Soaking in bleach is enough." MYTH. Bleach is corrosive to stainless steel and does not sterilize the material.
- "The kit must be opened in front of the client." TRUTH. This builds perceived value and demonstrates professionalism. The sound of tearing surgical paper is a "seal of quality" for anyone sitting in your chair.
- "I can use the same file if I wipe it with alcohol." MYTH. The porosity of the file prevents real disinfection. It is a single-use item.
How Orlina Helps Manage Your Salon
Beyond the technical side of sterilization, the organization of the business as a whole reflects on safety. A professional overwhelmed with manual tasks tends to make biosafety errors. By utilizing an online scheduling system, you professionalize your service.
For example, on Orlina's Pro plan ($49/month), Gabriel performs automatic confirmation via WhatsApp. If a client cancels, the slot is freed immediately, and you can take advantage of that unexpected time to organize your sterilization area or check your stock of disposable materials.
If you are just starting and have few clients, the Starter plan ($9/month) already offers the ability to remove the "Powered by Orlina" mark and manage your business more professionally. This small investment helps you organize your schedule so you never have to rush the essential steps of health and safety.
The Financial Impact of Biosafety
Many professionals see the costs of an autoclave, pouches, and biological tests as an expense. However, the cost of a lawsuit for contamination or the loss of reputation due to a fungal outbreak among clients is infinitely higher.
Working with rigorous biosafety allows you to charge a fair price for your service. Clients who value their own health do not mind paying a little more for a service that guarantees 100% sterile instruments. Use this as marketing: explain your sterilization process on your social media and show the behind-the-scenes of your organization.
Conclusion: Biosafety as a Competitive Advantage
Mastering the sterilization of manicure nippers elevates the level of your service. It is not just about following rules; it is about respecting the client's body and your own career. By establishing a clear flow—cleaning, drying, packaging, and autoclaving—you eliminate risks and work with peace of mind.
Combining this technical excellence with modern management, supported by Orlina, transforms you from a "manicurist" into a "hand care specialist." Automating appointments frees you from phone screens and gives you back the time needed to care for your instruments with the precision the profession demands.
To learn more about organizing every detail of your daily life, check out our guide on smart scheduling and discover how technology can be the right hand of your biosafety.
Organize your schedule and stop booking clients by text. Try Orlina free for nail techs →
Frequently asked questions
Can I use a dry heat oven instead of an autoclave to sterilize nippers?
While dry heat ovens are still used in some places, they are not recommended by modern health authorities like the CDC for salon environments. The autoclave is superior because it uses moist heat, ensuring faster, more homogenous, and safer sterilization against viruses and spores.
How long does sterilization last in a surgical-grade pouch?
Generally, sterilization is valid for 7 days if the material is stored in a clean, dry place. However, this period can vary according to the manufacturer's instructions and the integrity of the package; if it is punctured or gets wet, it loses its validity instantly.
Does 70% alcohol work to sterilize metal instruments?
No. 70% alcohol is an intermediate-level disinfectant, effective against many bacteria and viruses, but insufficient for eliminating bacterial spores and highly resistant viruses. Nippers and pushers, being critical items, must undergo sterilization in an autoclave.
How do I know if my autoclave actually worked?
The safest way is through triple monitoring: physical (observing the device's gauge and thermometer), chemical (using indicators that change color on the packaging), and biological (weekly tests with spore vials that must be incubated to confirm the death of microorganisms).
Can I sterilize nail files and wooden sticks in the autoclave?
No. Porous items such as wood, paper, and certain file foams cannot withstand the heat and humidity of the autoclave and cannot be guaranteed to be sterile. These materials must be discarded after each use, and their reuse is strictly prohibited.